
In this article we will look at how to configure your Salesforce instance to allow Impact Cloud to connect with it and get impact data or operational data on a continuous basis for impact data analytics
Problem
When you have collected stakeholder related data on Salesforce platform objects such as contacts, opportunities etc and want to use the data to do data analytics on Impact Cloud
Solution
To retrieve data from you Salesforce accounts from various objects such as Contacts, Opportunity, Leads, etc.
To connect to your salesforce account we need three things:
- client_id
- client_secret
- refresh_token
If you already know how to get these 3 things you may skip the rest of the tutorial, if not please follow along.
Steps to get the 3 pieces of data for salesforce connection
To get the tokens needed for connectivity you need to create a "Connected App" on your Salesforce account.
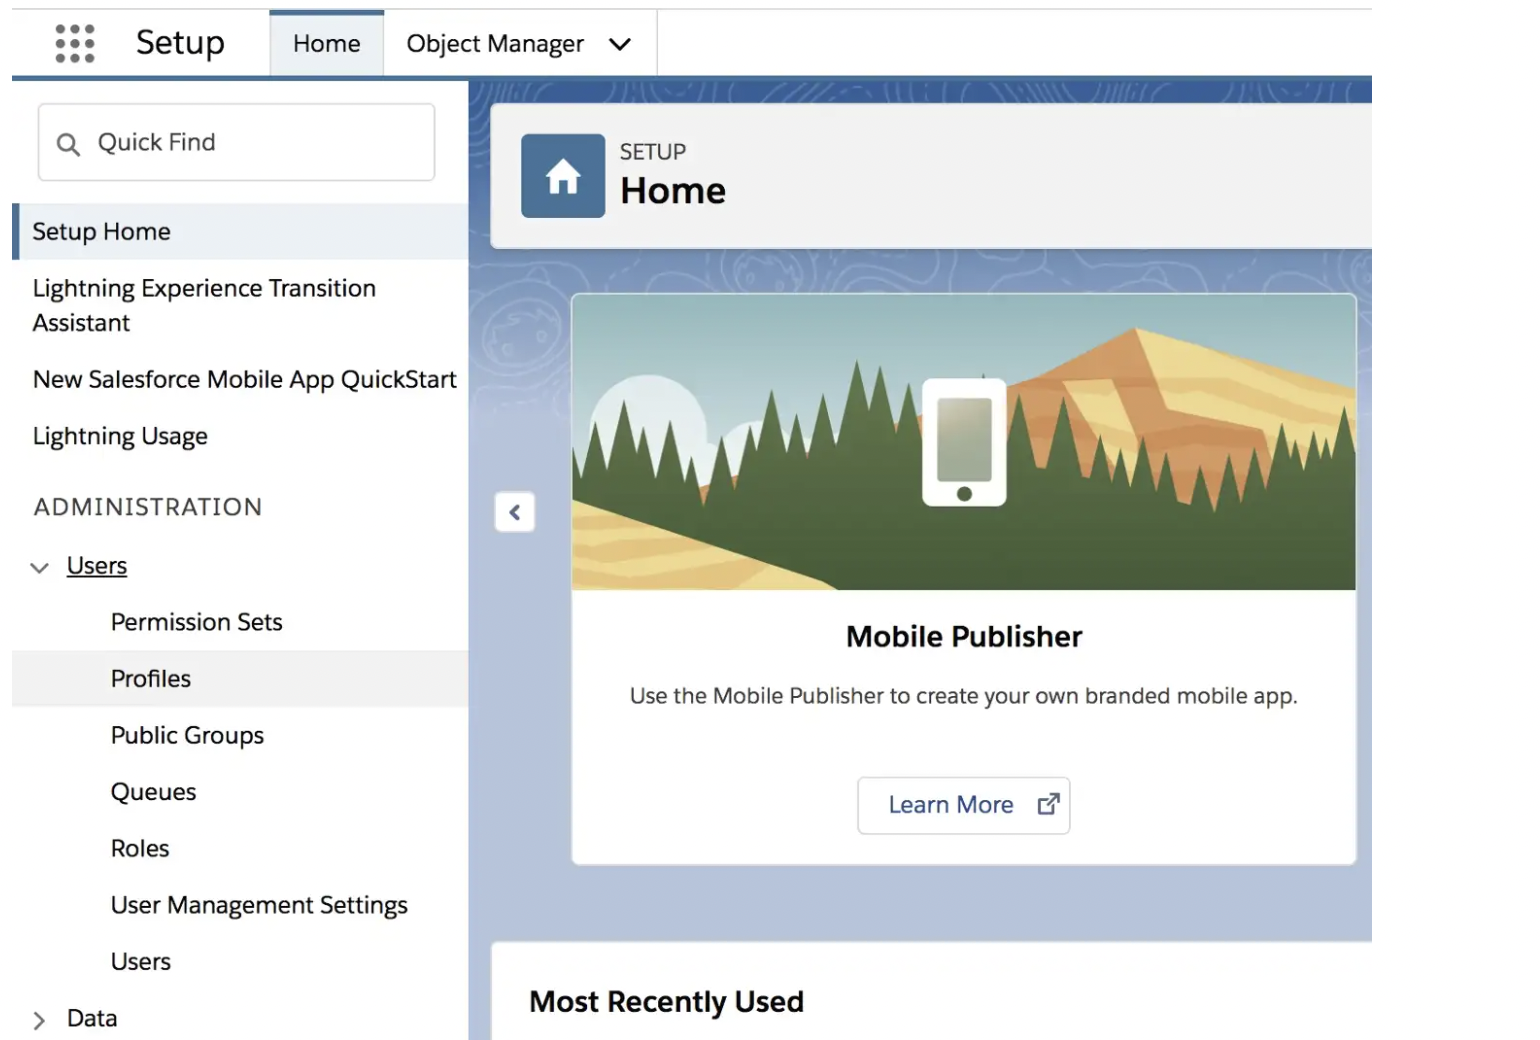
- Log in to Salesforce as an administrator. In the drop-down list of the account (in the upper-right corner), select Setup.
- In the left-hand pane, go to Apps > App Manager.
- Click on the New Connected App (in the upper right corner).
- On the New Connected App page, fill the following required fields under Basic Information: Connected App Name, API Name and Contact Email.
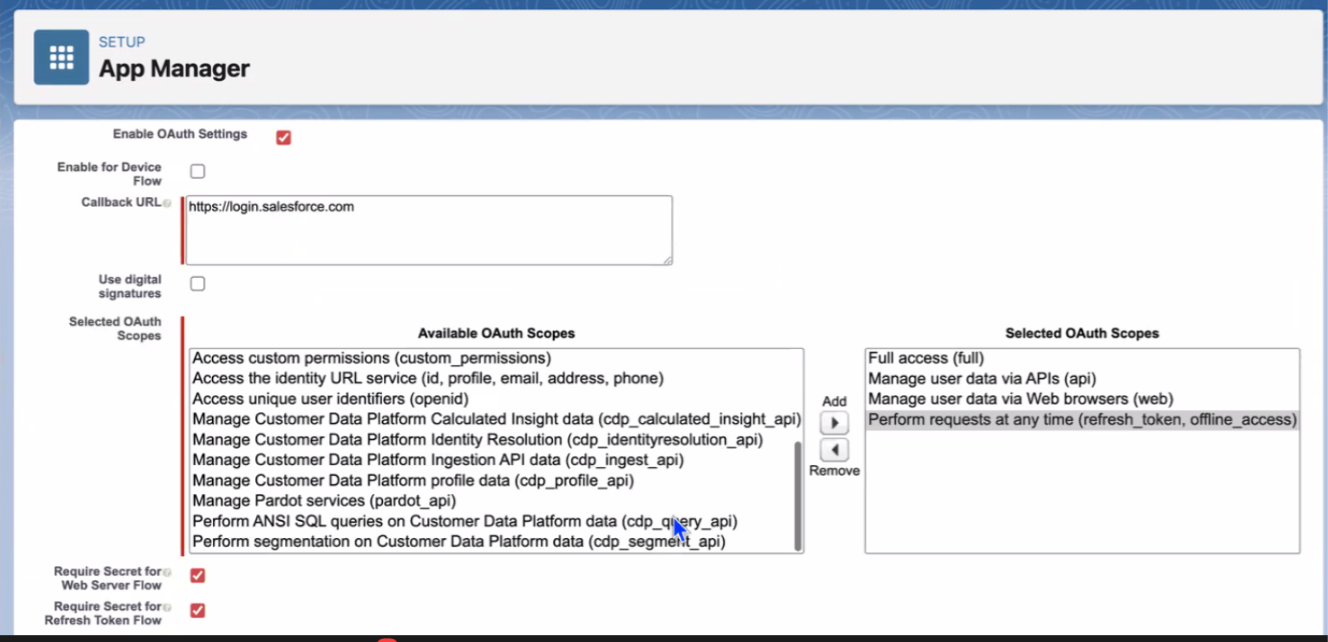
- Go to API (Enable OAuth Settings), and select Enable OAuth Settings.
- In the Callback URL field, enter https://login.salesforce.com/.
- In the Selected OAuth Scopes field, select:
- Full access (full)
- Manage user data via APIs (api)
- Manage user data via Web browsers (web)
- Perform requests on your behalf at any time (refresh_token, offline_access) - Click on Add for each one.
- Click the Save button to save the new Connected App.
- In the Connected Apps (Apps > App Manager) list, find the App that you just created, and then click Manage.
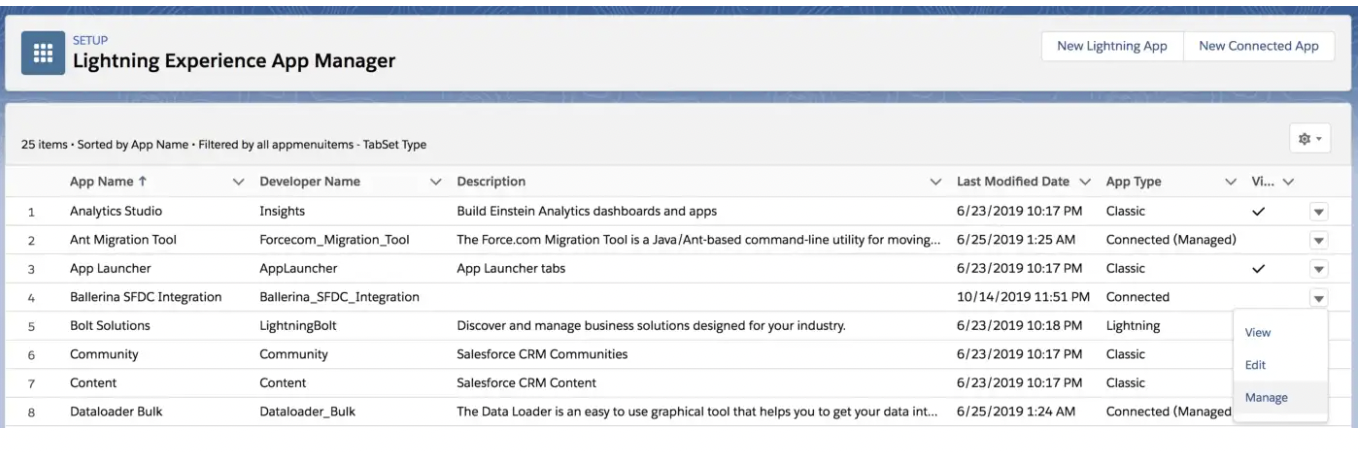
- On the page that opens, click the Edit button.
- Under OAuth policies, select All users may self-authorize in the Permitted Users list
- Click the Save button.
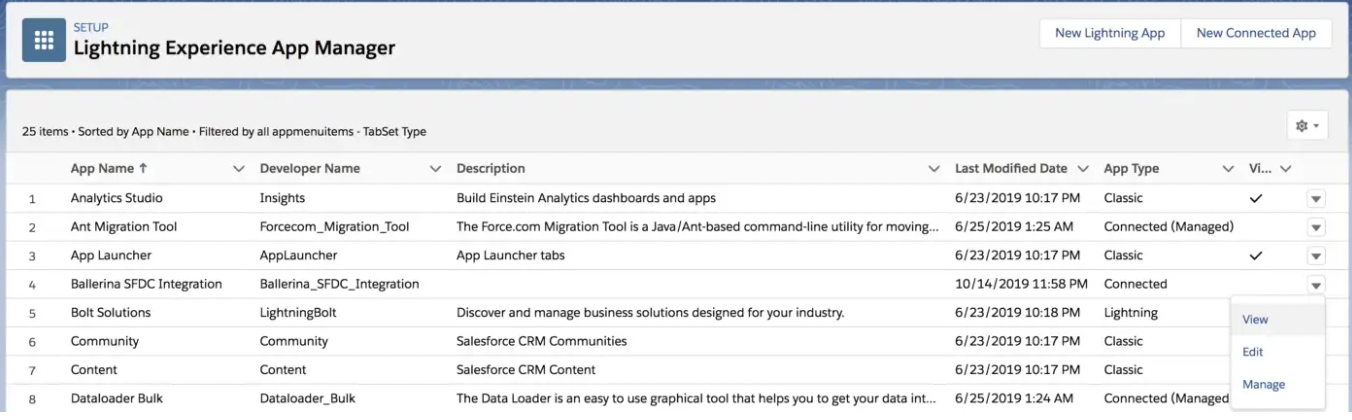
- Go back to the Connected Apps (Apps > App Manager) list, and click the App that you just created, and then click on View.
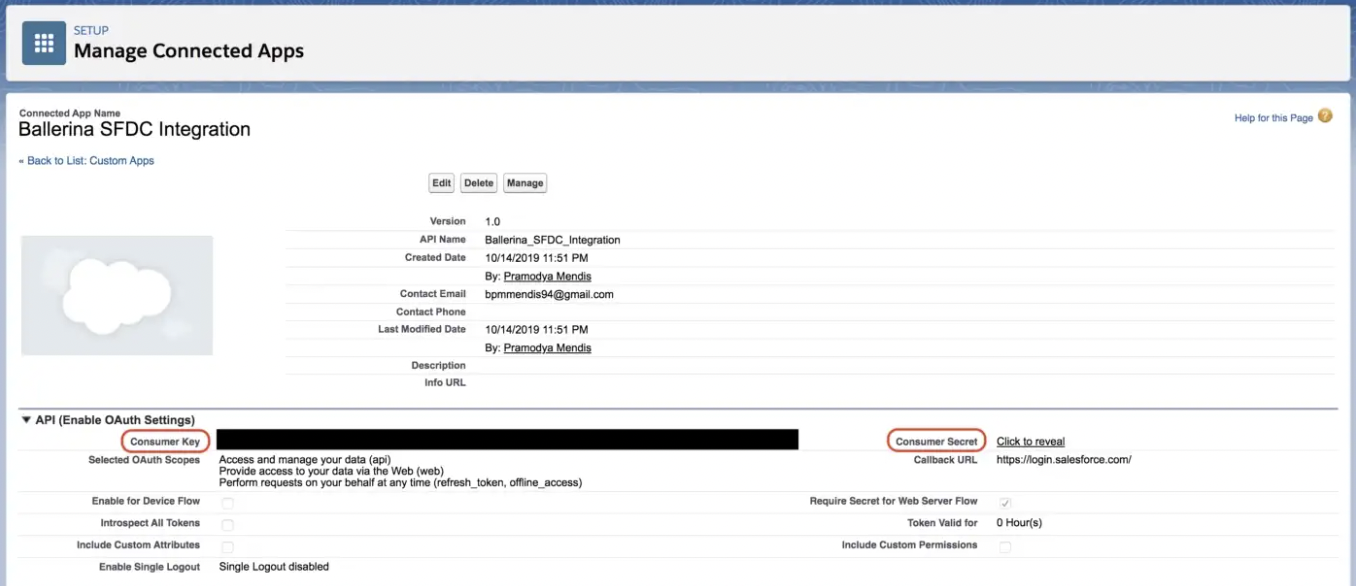
- Go to API (Enable OAuth Settings), and note down the Consumer Key and Consumer Secret, which will be used for the configuration of Credential in Ballerina SFDC Integration.
Getting the Tokens
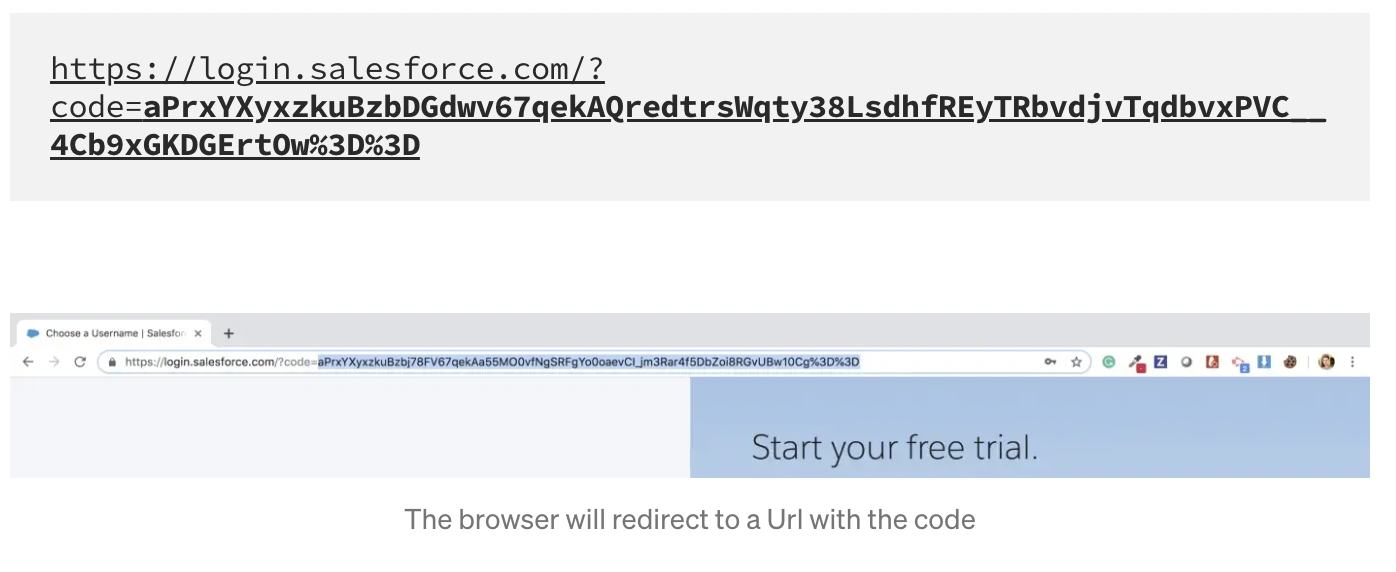
- Get Code: Log in to Salesforce using your favorite browser, then enter the following request url in a new tab to get the code.
- <CONSUMER_KEY> should be replaced with the obtained Consumer Key in the above step.
- <YOUR_INSTANCE> should be replaced with your instance name, in my case it is ap15.
- Allow access if any alert popup. Then you will see browser is redirecting to a url like this. You can obtain the code using that Url.
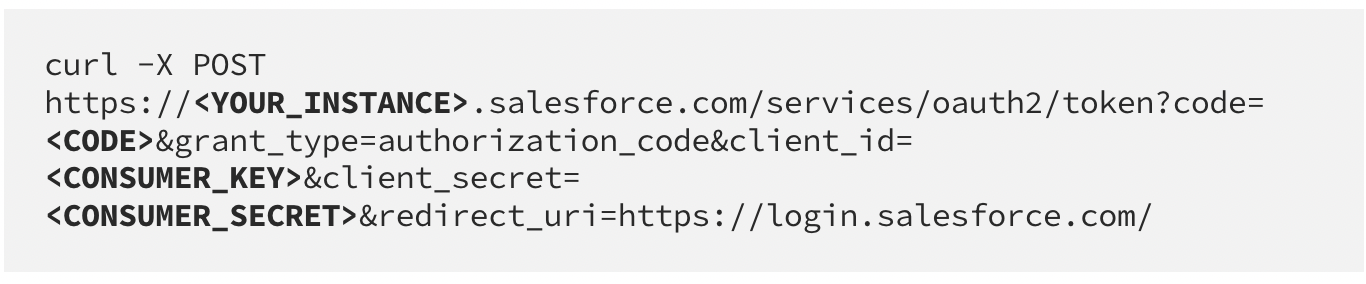
- Get Access token & Refresh token: Send the following curl request to obtain the tokens
- <CODE> should be replaced with the code you obtained in the above step
- <CONSUMER_KEY> and <CONSUMER_SECRET> should be replaced with obtained keys with the created Connected App.
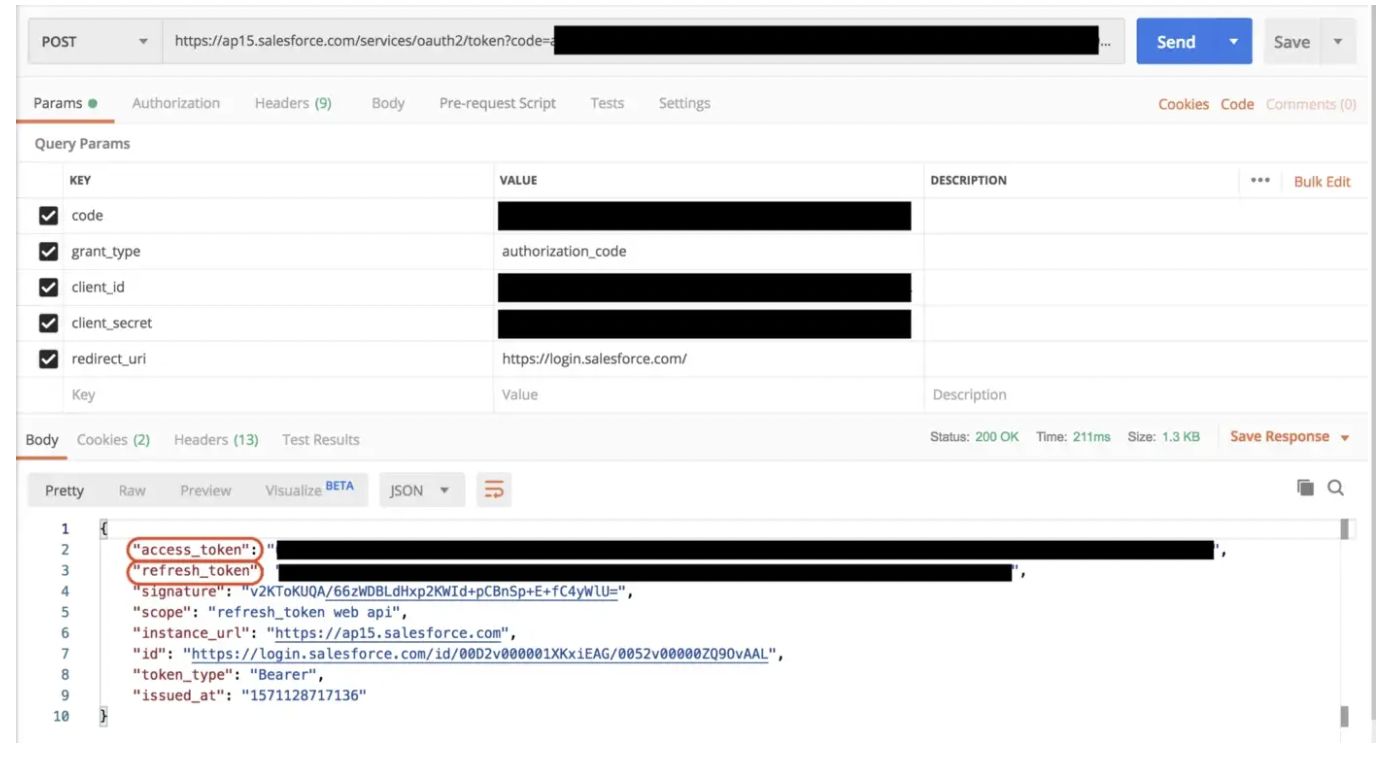
You can obtain the access_token and refresh_token from the response.{
"access_token":"00D2v000001XKxi__SOMETHING",
"refresh_token":"5Aep861dlMxAL.LhVTuPRa__SOMETHING",
"signature":"MK/YGMNQhPSSnKtYicXlaU__SOMETHING",
"scope":"refresh_token web api",
"instance_url":"https://ap15.salesforce.com",
"id":"https://login.salesforce.com/id/00D2vKxiEAG/0045Q09vAAL",
"token_type":"Bearer",
"issued_at":"1570030000198"
}If you are not familiar with curl you can use Postman to send the request.
Common Errors
- ‘REST API is not enabled for this Organization’ Issue
When you are trying to send a request to the salesforce API using the above credentials, sometimes you will get this error.
You can resolve this error by following the below steps.
Click on Setup in the right top corner.
Go to ADMINISTRATION > Manage Users and click on Profiles.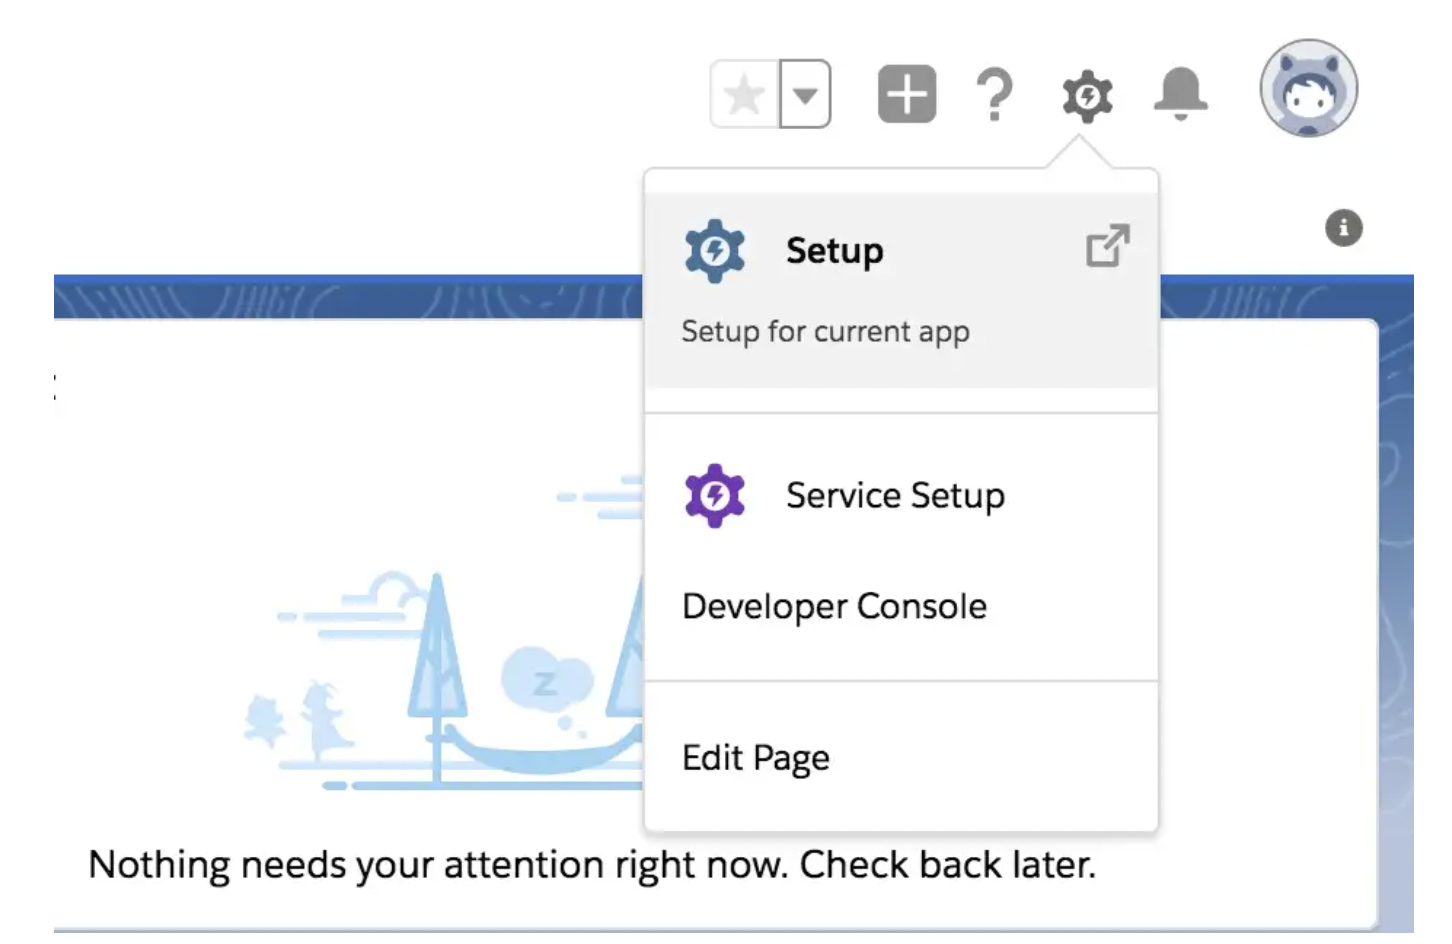
Click Edit on the specific profile you want to update.
Scroll down and go to Administrative Permissions and check the API Enabled checkbox.
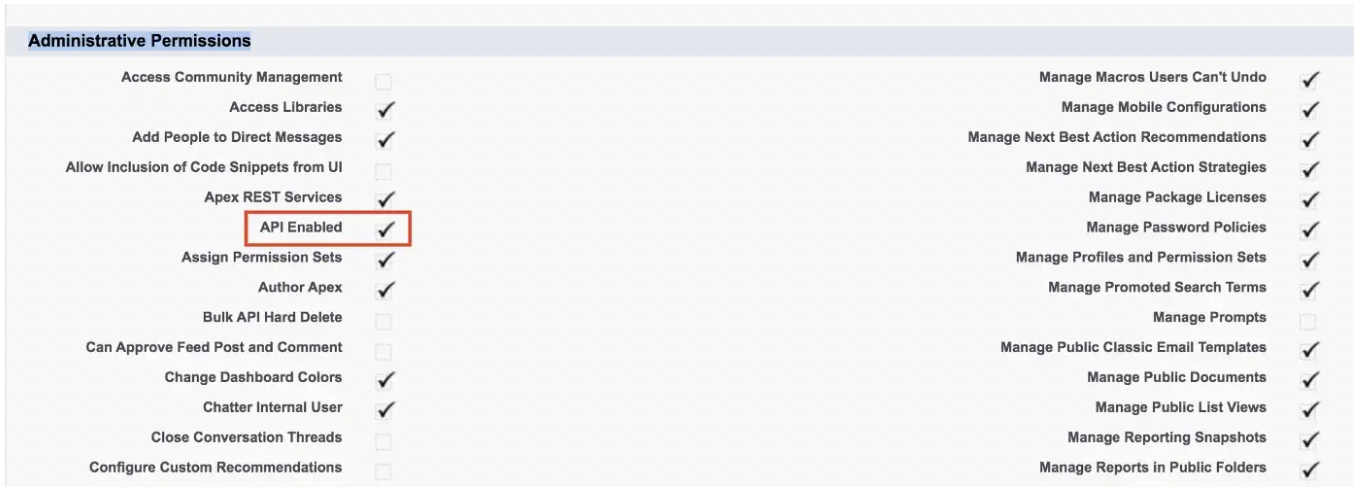
Finally, don't forget to scroll down in the page and click Save to save your changes.
That's it!