
In this article, you will learn to add the Security Item - Access Tokens and generate tokens.
Problem
You have a long survey with multiple pages and want to save the progress without submitting the survey / update the submitted answers in the survey. You want to be able to return to this point at any time to resume the survey where you left off or to update the answers after submission.
Before going through this article we strongly recommend that you go through the article.
Solution
This is accomplished this by adding a Security Item Access Token and enabling it. In this article, we will learn how to add security item "Access Token" and generate the tokens.
Let's understand how to do this.
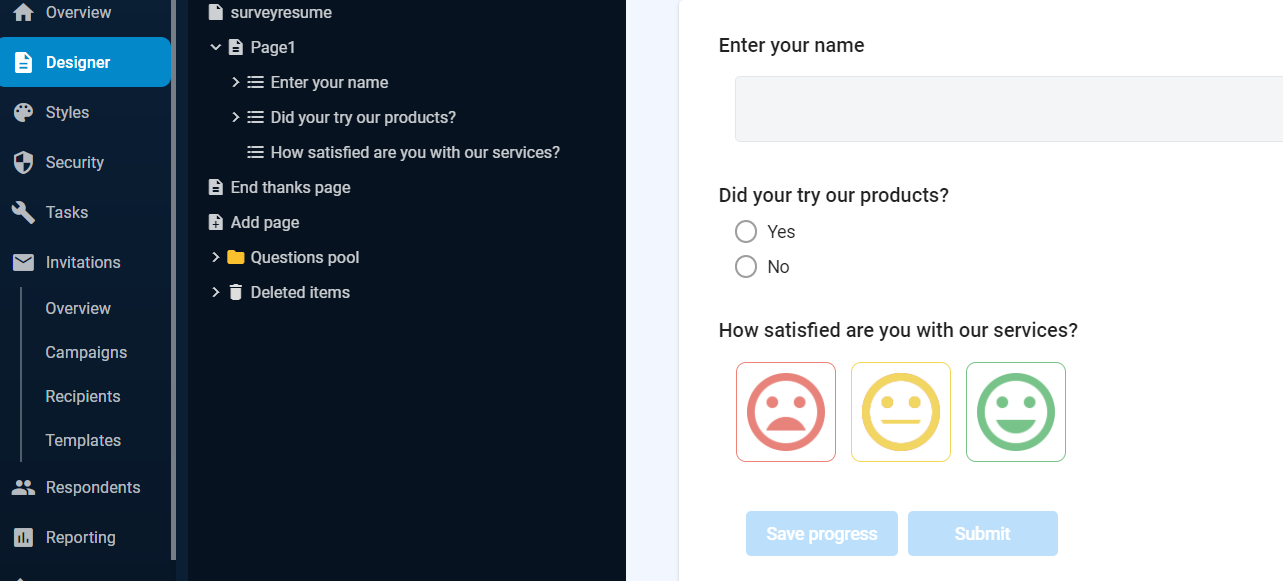
Step 1 : Create a survey with the required questions as shown below :
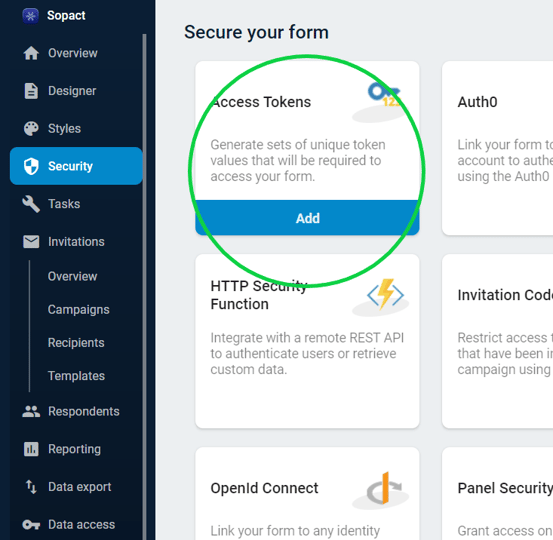
Step 2 : Go the Security and Add the Access Tokens.
For ease of understanding, this article is divided into two parts.
PART 1 : Creating Token
PART 2 : Administering the survey using tokens.
PART 1 - CREATING TOKENS
What are Tokens -
Step 4 : Provide an appropriate name to token source variable. Let's name it mytoken
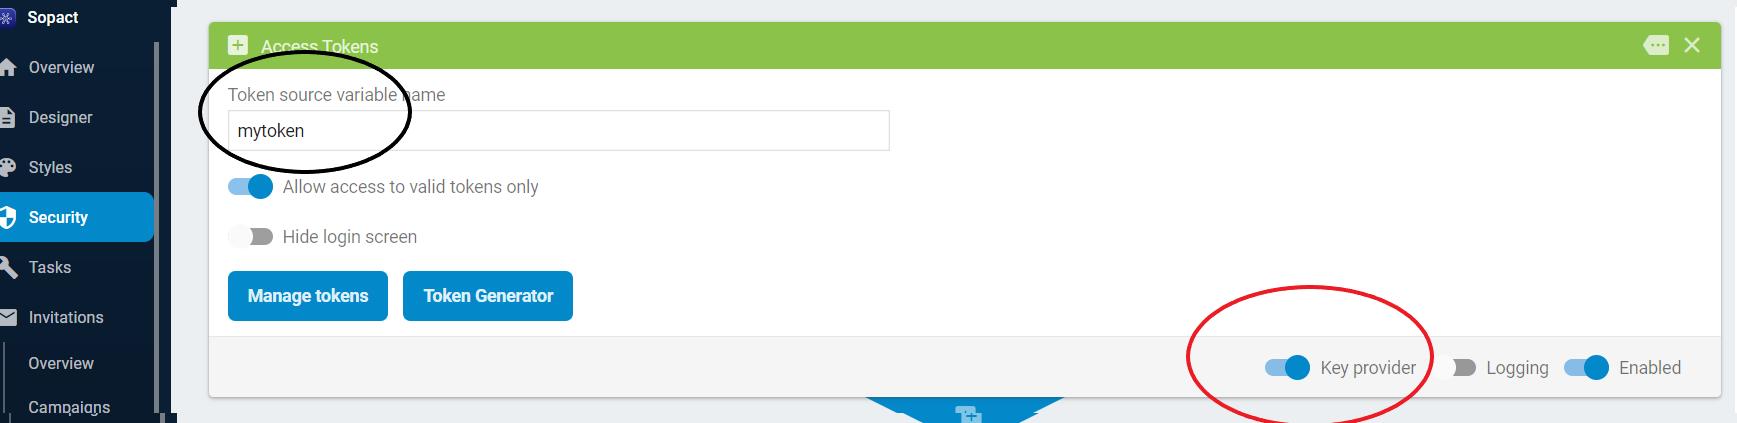
Also, enable the key provider mode.
Step 5 : To generate the tokens, let's click on Token Generator.
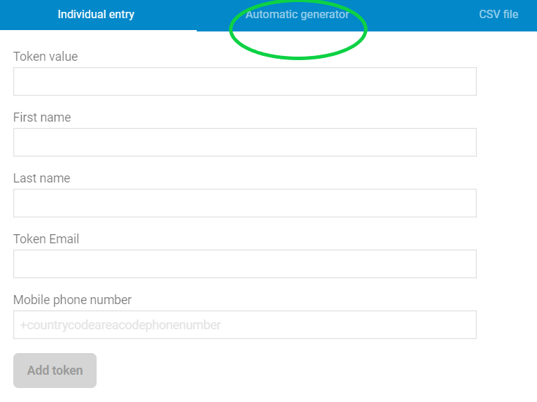
There are three ways to generate tokens.
1. Generated automatically using the Token Generator (Automatic generator)
2. Create (Individual entry)
3. Import your own set of token values(CSV file).
Tip : These tokens are instrumental in retrieving respondents responses.
Also, these tokens are simply text values, you can easily distribute them to your respondents via any electronic or non-electronic method.
Step 6 : Let's generate the token from Token Generator using Generate new tokens as shown below :
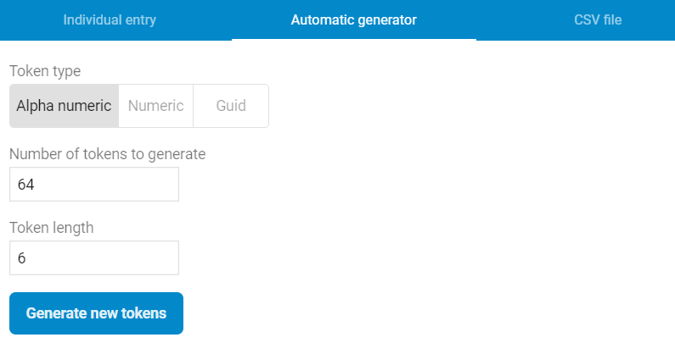
There are three types of tokens that can be automatically generated. It can be Alphanumeric or Numeric or GUID
Example
Alpha numeric abcd12345
Numeric 56789123
GUID : b97b5acb-fb3d-4cc8-aa2c-d0d56158a029
Token length - is the length of each token value
Step 7 : Click on the token of your choice and click on Generate new tokens.
In this article, token that have been generated using Token type - Alpha numeric
Step 8 : Once generated, tokens can be viewed from the Manage Tokens tab as shown in the image in Step 3.
Step 9 : These tokens can now be used while administering the survey.
We have learnt how to create tokens.
PART 2 : Administering the survey using these tokens.